Reviewed: Jan, 2023
Introduction
For business, the first question asked for software vendors is can you automate my business while the truth of the matter is that automation should be used as the enabler for business to grow the core functions, and not be the core itself.
Acumatica ERP is extremely powerful in the manner of flexibility, agility, and connectivity and with a little bit of time and keystrokes, will be able to connect to almost any system and perform any task requested by clients. The trap that most developers would fall into, is to try and write/manage and process everything from the same system. With businesses investing in automation, development is also moving towards a no/low code environment of interconnecting systems and performing tasks. A little bit of advice, do not try and reinvent the wheel…
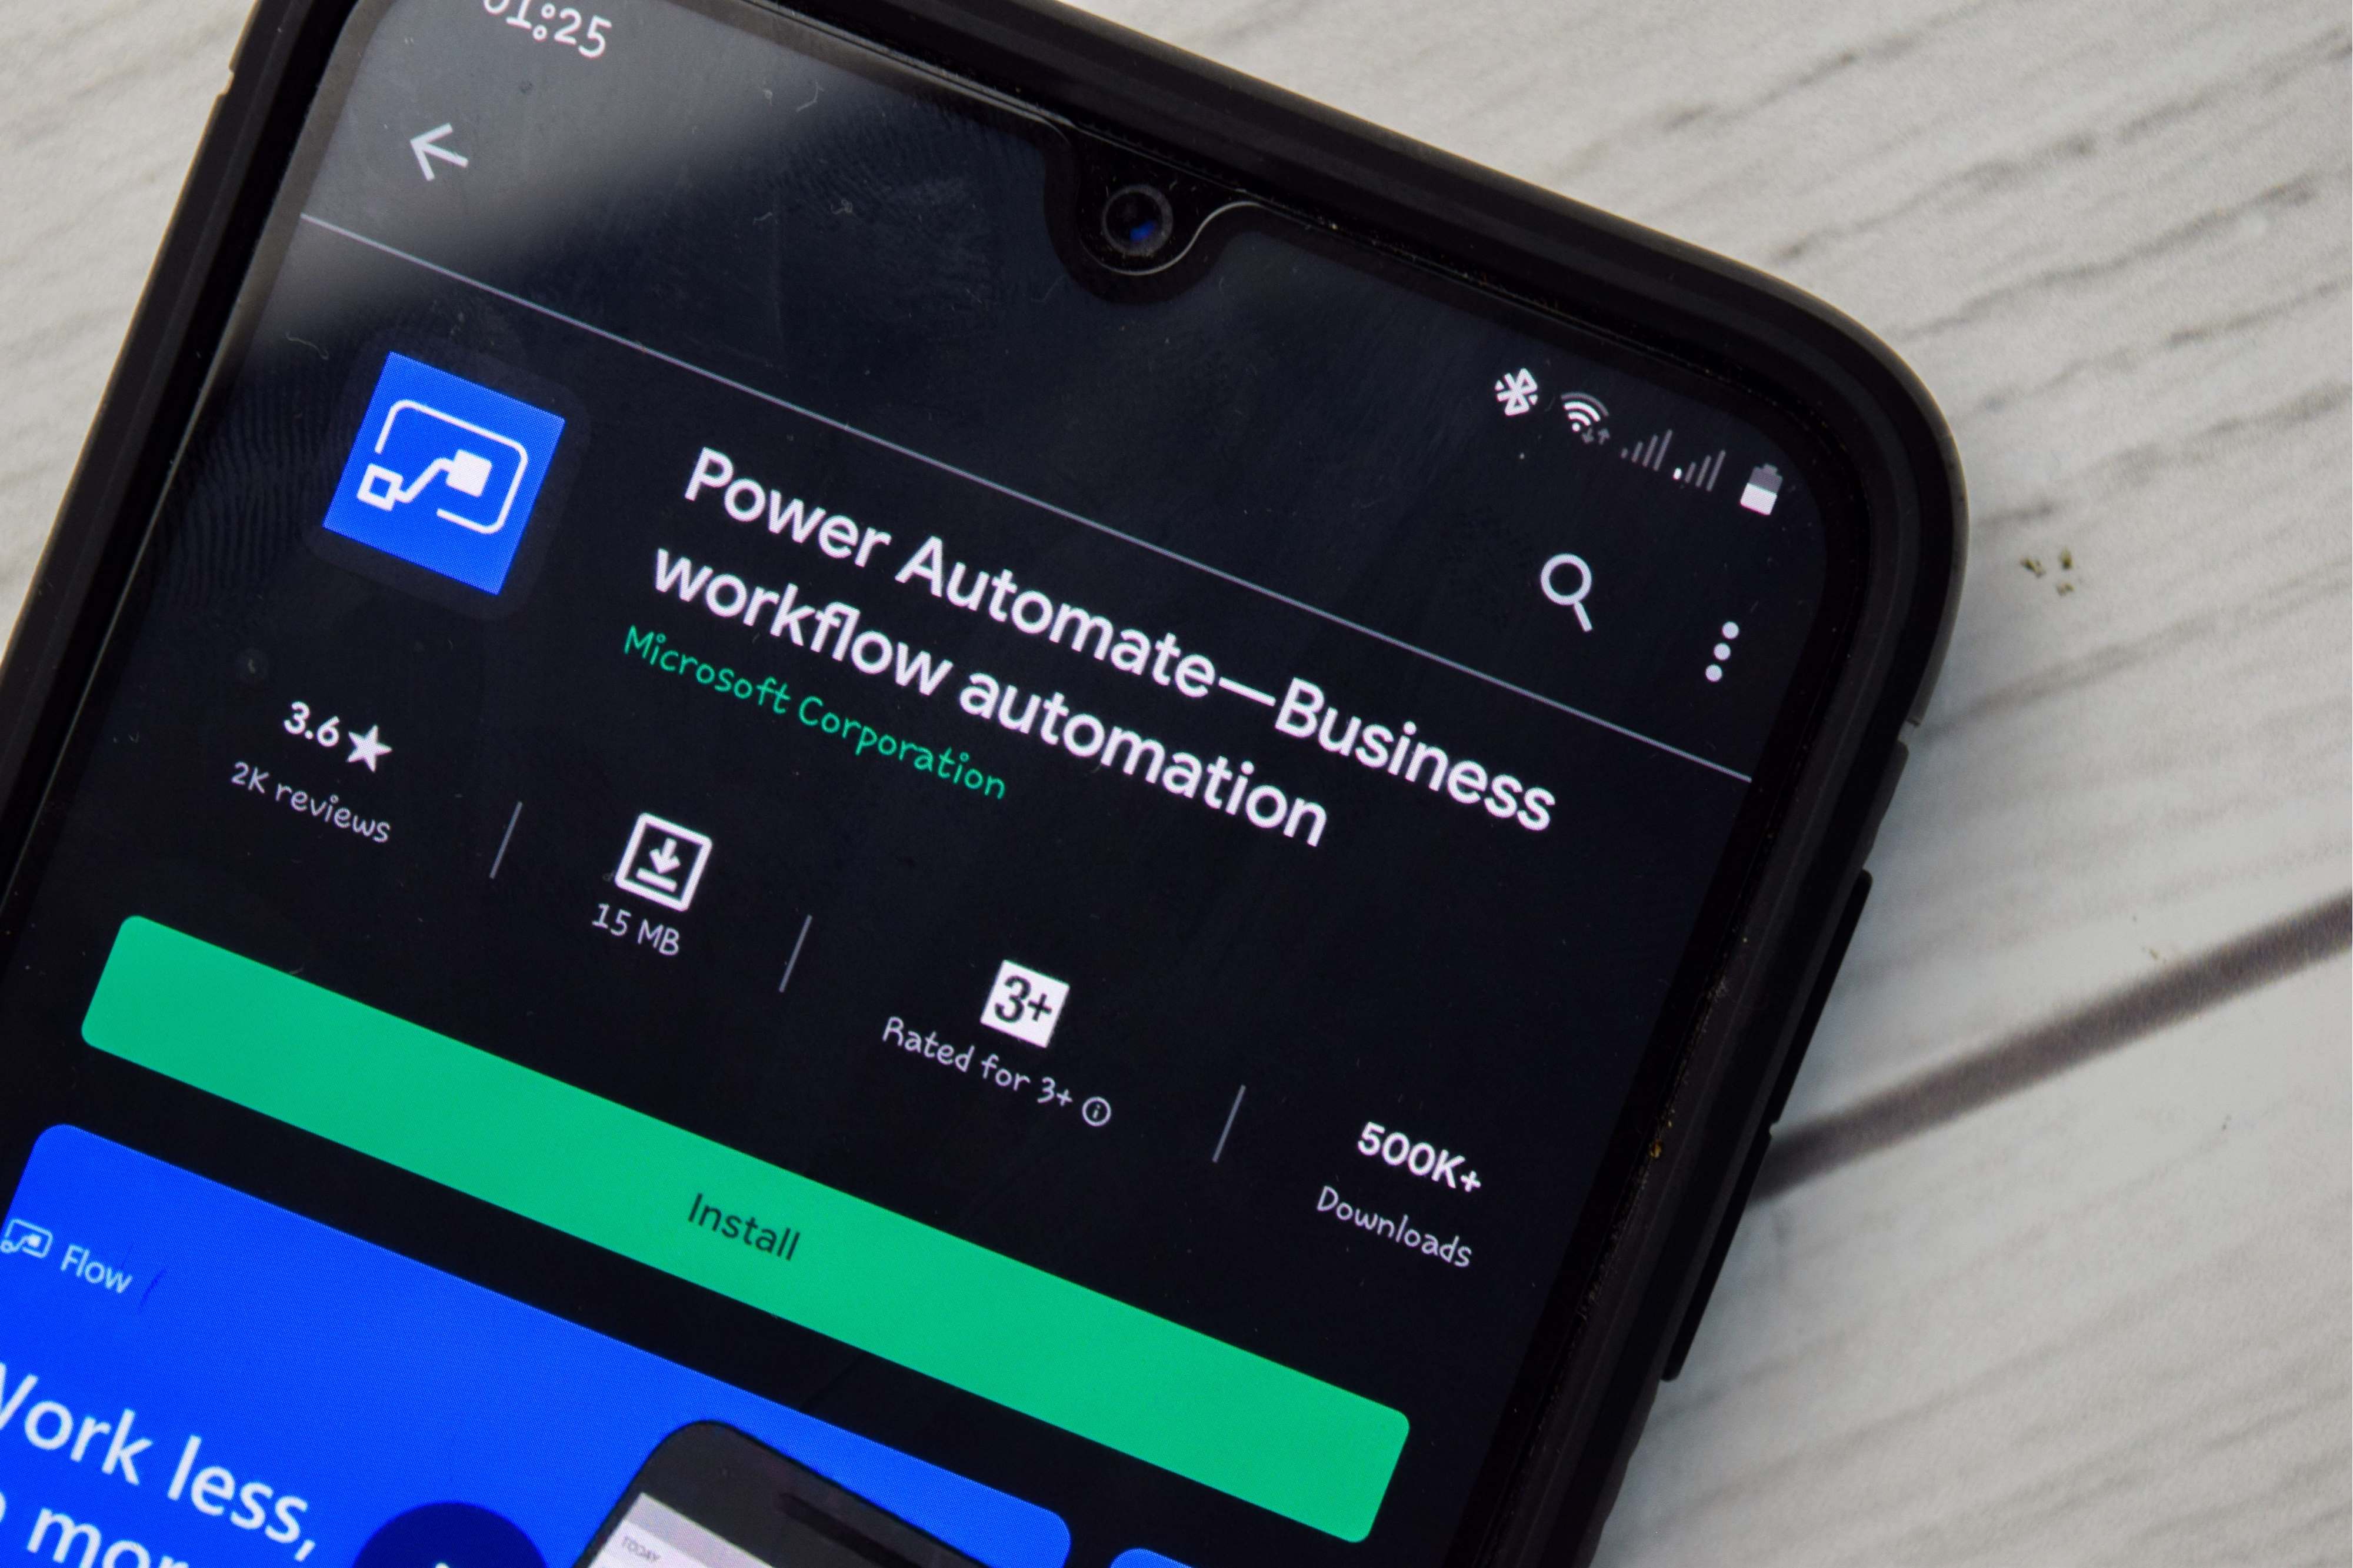
This brings me to the topic of Microsoft Flow, now known as Microsoft Power Automate. In short, Power Automate is an automation tool that connects applications and services to streamline repetitive tasks and increase productivity and remove manual intervention. Furthermore, it also has the ability to use Artificial Intelligence (AI) and Robotic Process Automation (RPA) to perform the actions and tasks while processing the workflows.
To start off with, Power Automate has a full library of templates for various functions, these include:
- Data Collection
- Notifications
- Emails
- Microsoft Teams
- Mobile Notifications
- Third-Party connectivity
- Remote work automation
- Event and Calendar management
In this article, I will demonstrate to send information from Acumatica ERP to Power Automate, which would perform the required tasks. Using Power Automate, no code was needed to create the required functionality that otherwise would have taken hundreds of lines of code to write and added library references to build with the project.
For simplicity, the demonstration would should that when a Service Engineer starts their appointment on Acumatica ERP (Enterprise Resource Planning), it would inform the support or dispatch teams on Microsoft Teams that he has arrived at the client and started the work.
To use Microsoft Power Automate, one would register and connect an account, with many free templates, or extend their subscription to Office 365 to include Power Automate. For more information, see the pricing of the different packages.

Opening the Acumatica Notification workflow, a few items can be illustrated:

- Details – The details and description of the workflow
- Connections – The embedded connections used by the workflow
- Flow Checker – The validation checker to verify if the workflow contains any error or warning
- History – The history log of the workflow being run
By editing the workflow, you are presented by steps to add. On the right two steps have been created.
- HTTP Request received (Trigger Point)
In its most basic form, the HTTP request would be called by Acumatica and in turn, triggers the next step of the workflow.
- Post MS Teams message (Perform Task)
The task will be triggered when the previous action has been completed and the next step’s action. The message will inform a Team within MS Teams using the selected Channel to post the required message.
From the right, as you can see no code is needed to create the connection calls, as well as the configuration and integration with Microsoft Teams. This example relates to the owner’s subscription and provides access (based on security) to the subscription’s organization MS Teams Teams and Channels.
Before we move over to Acumatica, the process can be manually tested by using the Flow Checker and Test action, on the top right corner of the Workflow builder.


Within Acumatica, you would need to extend the function/action that would call Power Flow. In this example, when the user clicks on ‘Start Appointment on the Appointments Screen (FS300200), the system would run the base method and thereafter call Power Automation.
GIST: https://gist.github.com/Gerhard-ZA/5901c2365ce8f0b7fd9ff1ba885d659a
And now for the test!

As can be seen on the History:

Summary
In summary, Power Automate is a lightweight framework to add to the stack of automation tools that businesses require, with the benefit of low/no-code implementation and thousands of templates to choose from. Using the Power Automate tool can reduce the time developers normally spend on setting up environments and building various libraries that need to interconnect. Now more time can be spendt on automating the business function, with less time spend to get the frameworks to run them.
For more information on Microsoft Power Automate, please visit https://emea.flow.microsoft.com/en-us/
 Canada (English)
 Colombia
 Caribbean and Puerto Rico
 Ecuador
 India
India
 Indonesia
 Ireland
 Malaysia
 Mexico
 Panama
 Peru
Peru
 Philippines
 Singapore
 South Africa
 Sri Lanka
 Thailand
 United Kingdom
 United States


